
How to Keep a Model Railway Build Log

The first time you forget which ballast blend you used, or which wire feeds that stubborn siding, a model railway build log stops feeling optional. It becomes part of the layout. Not the glamorous part, perhaps, but the bit that saves time, avoids repeat mistakes and makes the whole project easier to enjoy.
For many modellers, the log starts as a few progress photos and a note about baseboard size. Then the layout grows, wiring gets layered, scenery techniques change, and suddenly memory is doing far too much work. A good build log gives your project a clear trail from first sketch to running session, and it turns scattered effort into something you can review, share and improve.
Why a model railway build log matters
A layout is rarely built in a straight line. You might lay track, then pause for months. You might rebuild a station throat three times before it behaves. You might test one weathering method on an N gauge wagon, then use a completely different approach on an OO goods yard. Without notes, those decisions blur together.
That is where a build log earns its place. It records what you did, why you did it and whether it worked. That sounds basic, but it has real value. If a point motor fails, you can check when it was installed and how it was wired. If a scenic area looks right, you can repeat the same ground cover mix elsewhere. If a curve causes derailments, you can trace whether the issue started with radius, cant, coupler swing or stock choice.
There is also a quieter benefit. A build log helps you see progress. Layouts can take years. When you are buried in fiddly jobs like droppers, fascia painting or signal testing, it is easy to feel as though nothing is moving. Looking back over earlier entries reminds you just how much has already been done.
What to include in a model railway build log
The best log is useful, not exhaustive. You do not need to document every cup of tea consumed during baseboard assembly. What matters is recording the decisions and changes you are likely to need later.
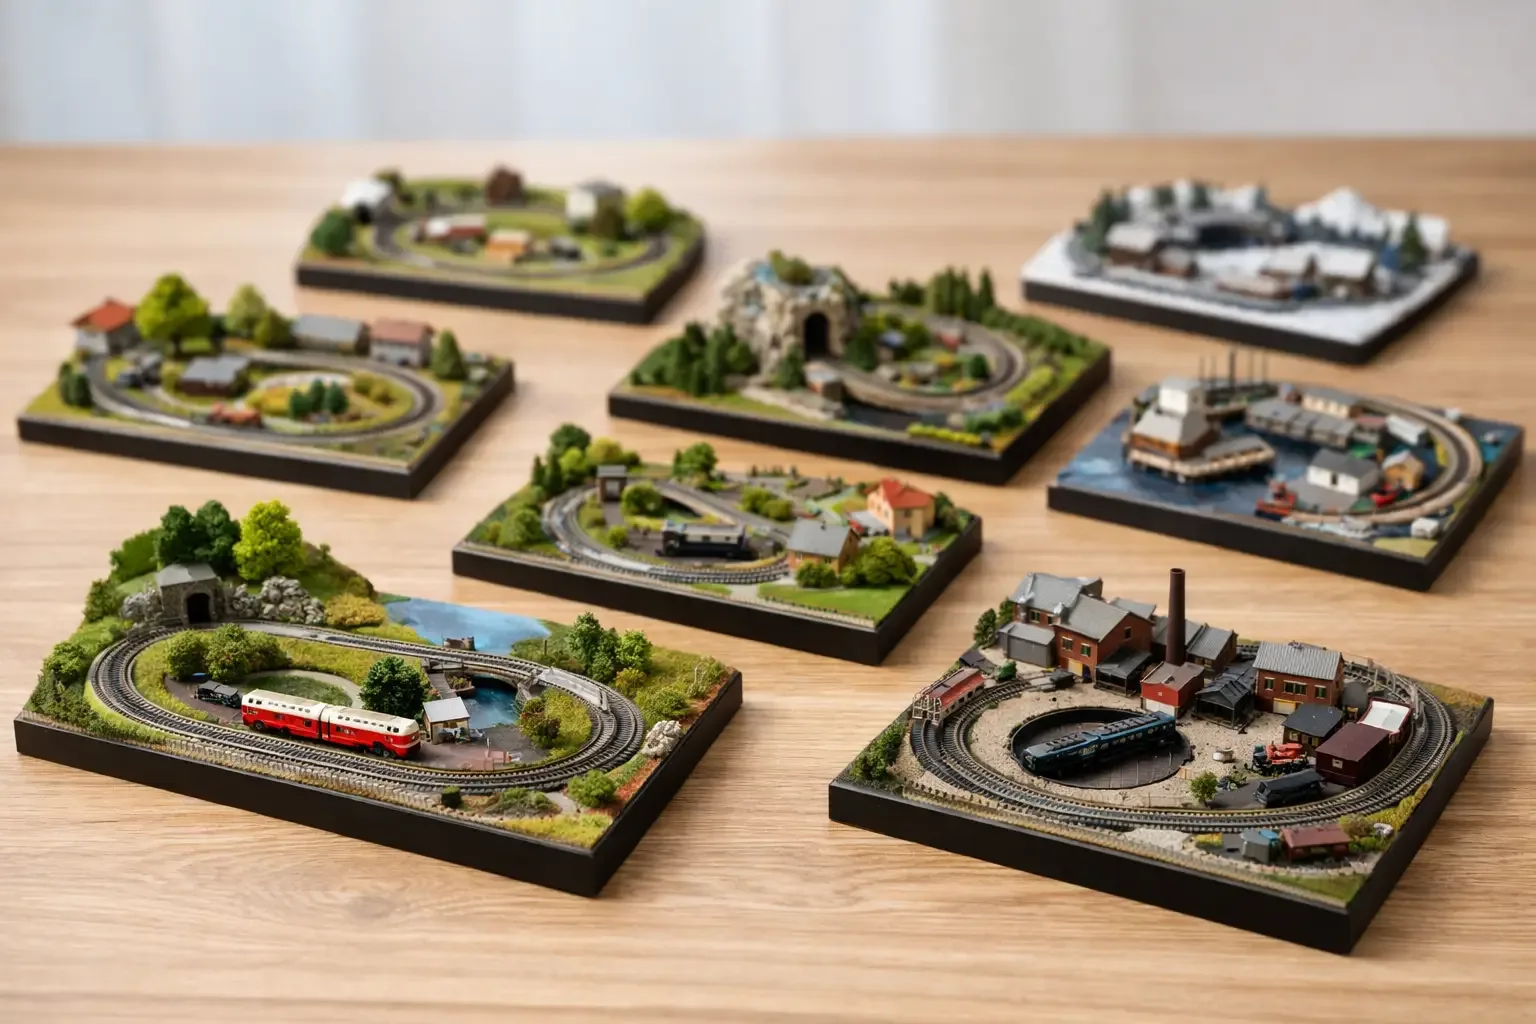
Start with the basics of the layout itself. Gauge, scale, era, location, room size and overall aim all deserve an early entry. If the project is based on a real line, note what you are compressing and what you are keeping faithful. If it is freelance, write down the operating idea. That context helps every later decision make sense.
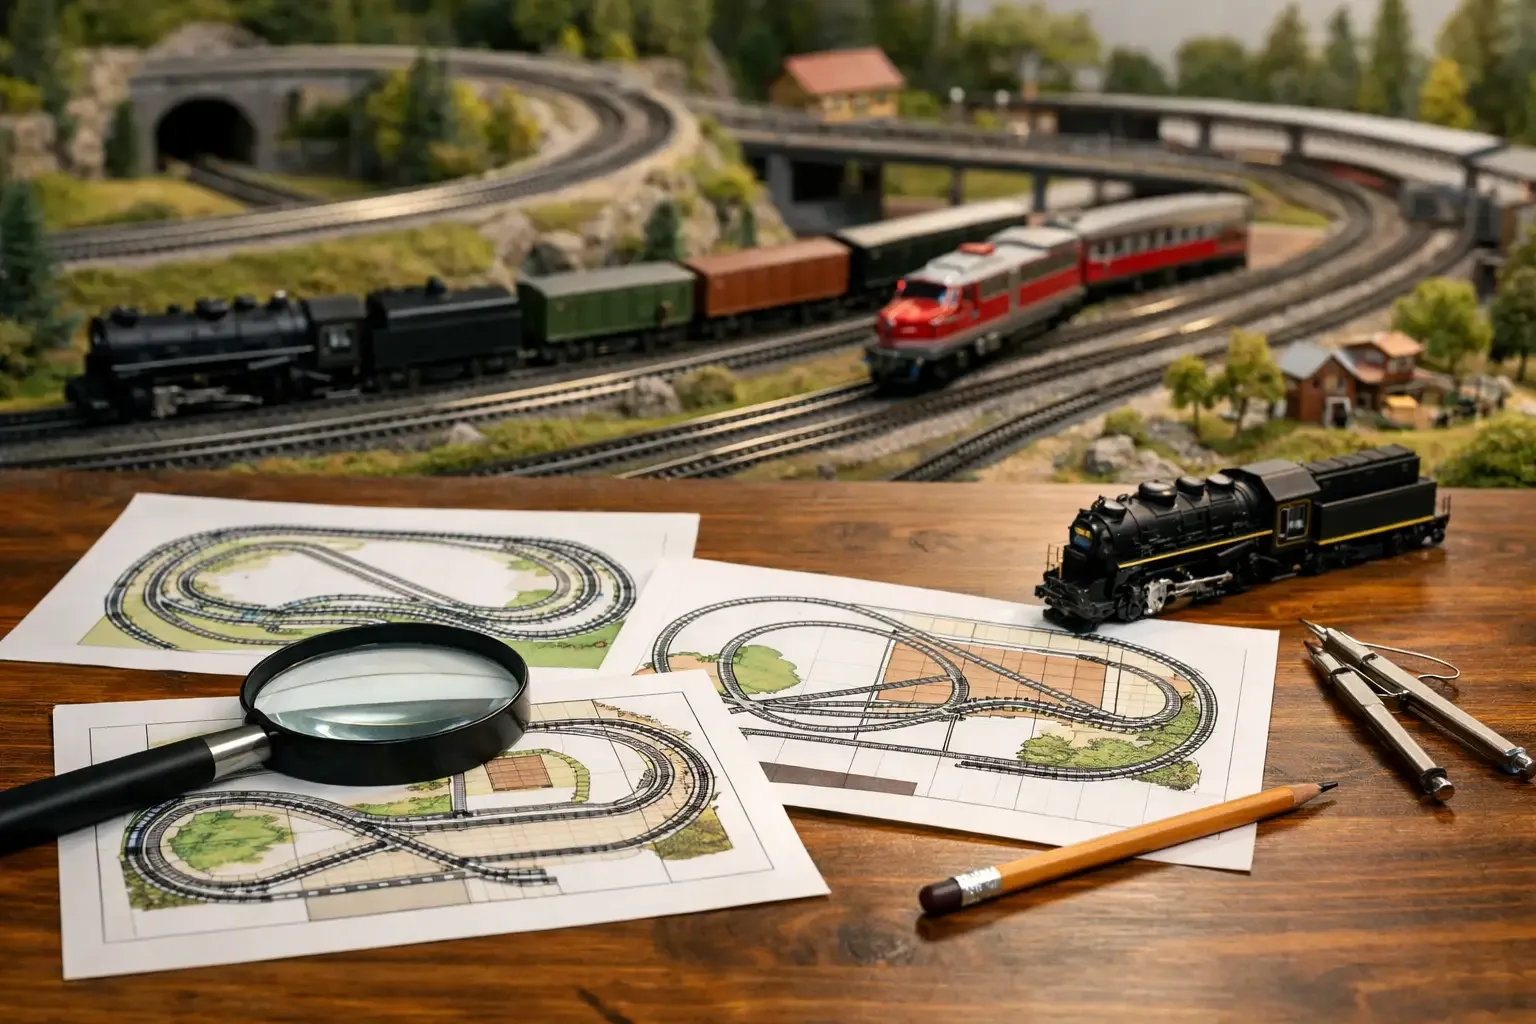
Then move into practical records. Track plans should be dated, especially if they evolve. Wiring notes should include simple diagrams, bus colours, accessory connections and controller setup. Scenic entries should mention products, paint mixes and techniques. Rolling stock work should note couplings, wheel swaps, decoder fitting or weathering methods. If you change your mind halfway through, log that as well. Revisions are part of the story.
Photos matter just as much as text. A quick image of underside wiring, hidden track or a removable scenic section can save hours later. Take more process photos than you think you need. Finished glamour shots are great for sharing, but work-in-progress images are often the most useful reference.
Paper, digital or both?
There is no single right format, and most experienced builders end up with a mix. A notebook on the workbench is fast and convenient. You can jot down measurements, sketch a feed wire route or note that a turnout needed packing under one end. Paper is excellent for immediacy.
Digital logs are stronger for searching, storing photos and sharing progress. A mobile phone or tablet makes it easy to record jobs as you go, especially if your layout space is separate from your desk. Digital notes also make it far easier to revisit an old entry and find that one mention of a decoder address or paint code.
The trade-off is discipline. Paper notes can become messy and fragmented. Digital notes can become too polished, which means updates get delayed. The simplest system is usually the one that survives. A rough notebook plus a dated photo folder is already enough to create a very solid build record.
How to structure your entries
A good build log does not need literary flair. It needs consistency. Date each entry. Give it a clear subject. Then capture what changed.
A useful pattern is simple: what you planned to do, what you actually did, what worked, what did not, and what comes next. That last part is especially helpful. If you end a session by writing “next job: fit droppers to fiddle yard roads 3 and 4”, you remove the friction when you return.
Keep each update focused. One post or entry can cover baseboard framing, another can cover cork underlay, another can deal with DCC testing. That makes the log easier to search and easier for other hobbyists to follow if you choose to share it.
Record the mistakes as well as the wins
This is where many build logs become less useful than they could be. Builders naturally want to show progress, neat results and satisfying milestones. But the parts that help others most are often the awkward ones.
If a turnout kept shorting because of back-to-back measurements, note it. If a scenic adhesive dried too glossy, write that down. If a platform height looked right until a different coach passed through, record the fix. These details are gold, both for your future self and for anyone building something similar.
There is no shame in revisions. In this hobby, rebuilding a section often means standards have improved. A log that includes setbacks feels more honest and far more useful than one that skips from bare boards to perfect scenery.
A build log makes sharing easier
One reason modellers hesitate to post their work is that they feel the layout is not ready. The truth is that build logs are often most interesting before the project is finished. People enjoy seeing problems solved, scenes take shape and plans evolve.
That is also why a build log fits naturally within a dedicated community. Fellow enthusiasts understand why a half-complete viaduct, a wiring diagram or a revised goods yard throat is worth showing. They can spot clever ideas, offer constructive feedback and appreciate the craft in stages that a general social platform might overlook.
If you do share your progress publicly, clarity helps. Add captions that explain what is changing. Mention the gauge. Say whether the layout is permanent, portable or under construction in sections. The more specific you are, the easier it is for others to connect with the work and respond usefully. Platforms such as RateMyRailway work best when builders treat the log as an invitation to conversation rather than a polished final reveal.
Keep it realistic and easy to maintain
The biggest danger is overcomplicating the process. If your build log feels like admin, you will stop using it. Keep the barrier low. A few sentences and two photos after each session is enough.
You also do not need to update it every time you touch the layout. Some sessions are tiny. Some are just cleaning track or testing stock. Grouping small jobs into one weekly entry often works better than trying to document every minor adjustment.
Think in terms of momentum, not perfection. The goal is not to create a museum archive. The goal is to build a practical record that supports the hobby and makes your layout easier to run, refine and share.
What a strong log looks like over time
After a few months, a useful build log begins to do more than record progress. It reveals patterns. You see where time goes. You spot recurring faults. You notice whether your scenery work speeds up once you settle on a method, or whether track planning keeps changing because the operating brief was never fully settled.
That kind of visibility can improve the layout itself. It may tell you that hidden track needs better access before scenery goes any further. It may show that stock reliability deserves more attention than another scenic cameo. It may even persuade you to simplify a plan that looked ambitious on paper but proved awkward in practice.
And that, really, is the point. A model railway build log is not just a diary. It is a working tool, a memory aid and, when shared, a way to contribute something useful back to the hobby. Start small, keep it honest and let it grow with the layout. Your future self will thank you for it the next time a wire disappears under the board and you already know exactly where it goes.
Related Posts
Comments (0)
Community Guidelines
Keep all comments friendly. Feedback should be constructive and no derogatory comments are tolerated.
Sign in to join the conversation
No comments yet
Be the first to share your thoughts!